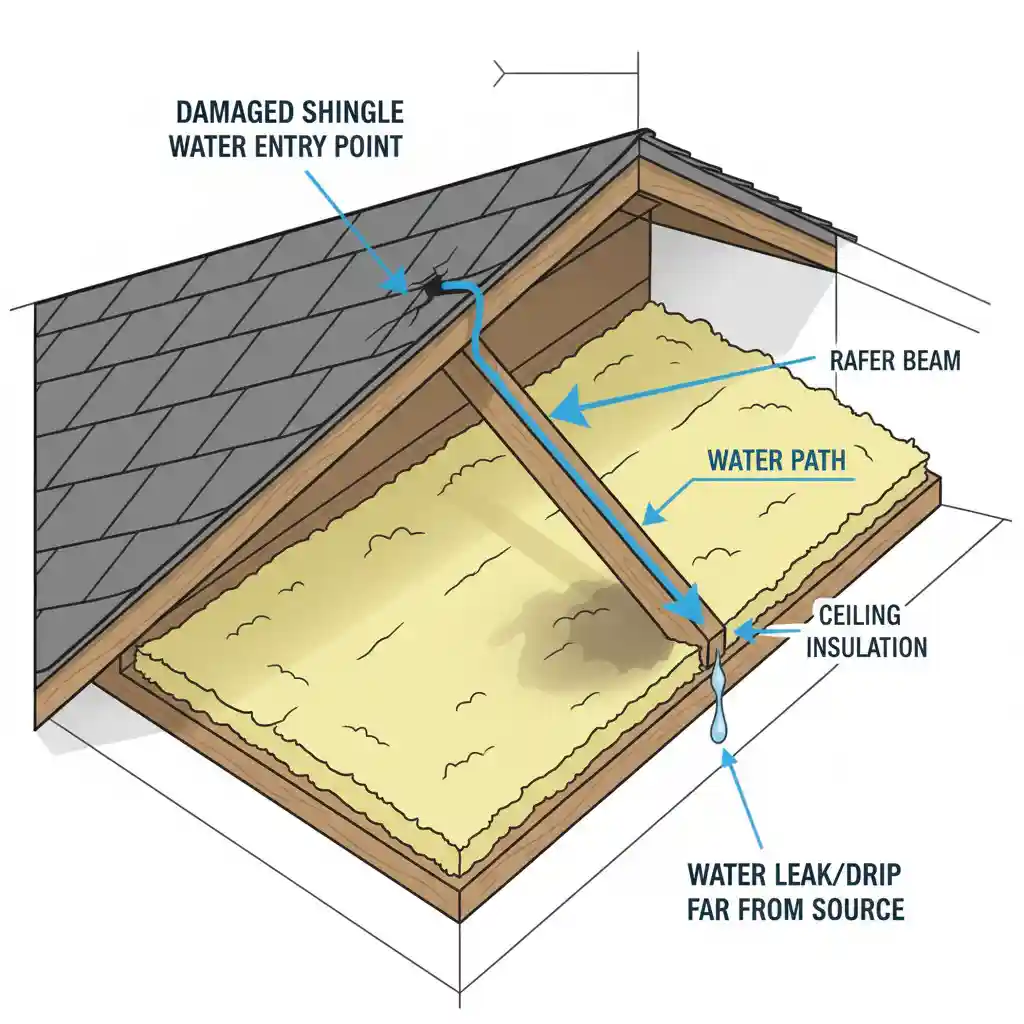
The first sign of a roof leak is usually a brown water stain on your ceiling or damp drywall. But here is the frustrating truth about roofing: The hole in your roof is rarely directly above the stain on your ceiling.
Water is tricky. It follows the path of least resistance. It can enter through a missing shingle near the peak of your roof, run down a rafter beam for 10 feet, and then drip onto your insulation.
Finding the source of the leak is the hardest part of the repair process. This guide will teach you how to think like a professional roofer and trace the leak back to its origin.
Safety First: Don’t Walk on a Wet Roof
Before you grab a ladder, remember: Roofing is dangerous.
-
Never walk on a steep roof without proper safety gear.
-
Never walk on a roof while it is raining or wet (shingles become like ice).
-
If you are uncomfortable with heights, perform the inspection from the ground using binoculars or inspect from inside the attic.
Method 1: The “Attic Detective” Strategy
The best place to find a leak isn’t on the roof—it’s in the attic. Grab a bright flashlight and head up there during the day.
-
Locate the Stain: Find where the wet spot is on the insulation or the attic floor.
-
Look Up and Uphill: Don’t just look straight up. Look higher up along the roof deck (the plywood sheets). Water obeys gravity; it flows downhill.
-
Trace the Trail: Look for “shiners” (nails that missed the rafter and are frosted with ice in winter or dripping water). Look for black mold, dark water stains on the wood, or compacted insulation.
-
Turn Off the Lights: Turn off your flashlight and make the attic pitch black. Look for pinpricks of daylight coming through the roof boards. If light can get in, water can get in.
Method 2: Check the “Common Suspects” (Roof Penetrations)
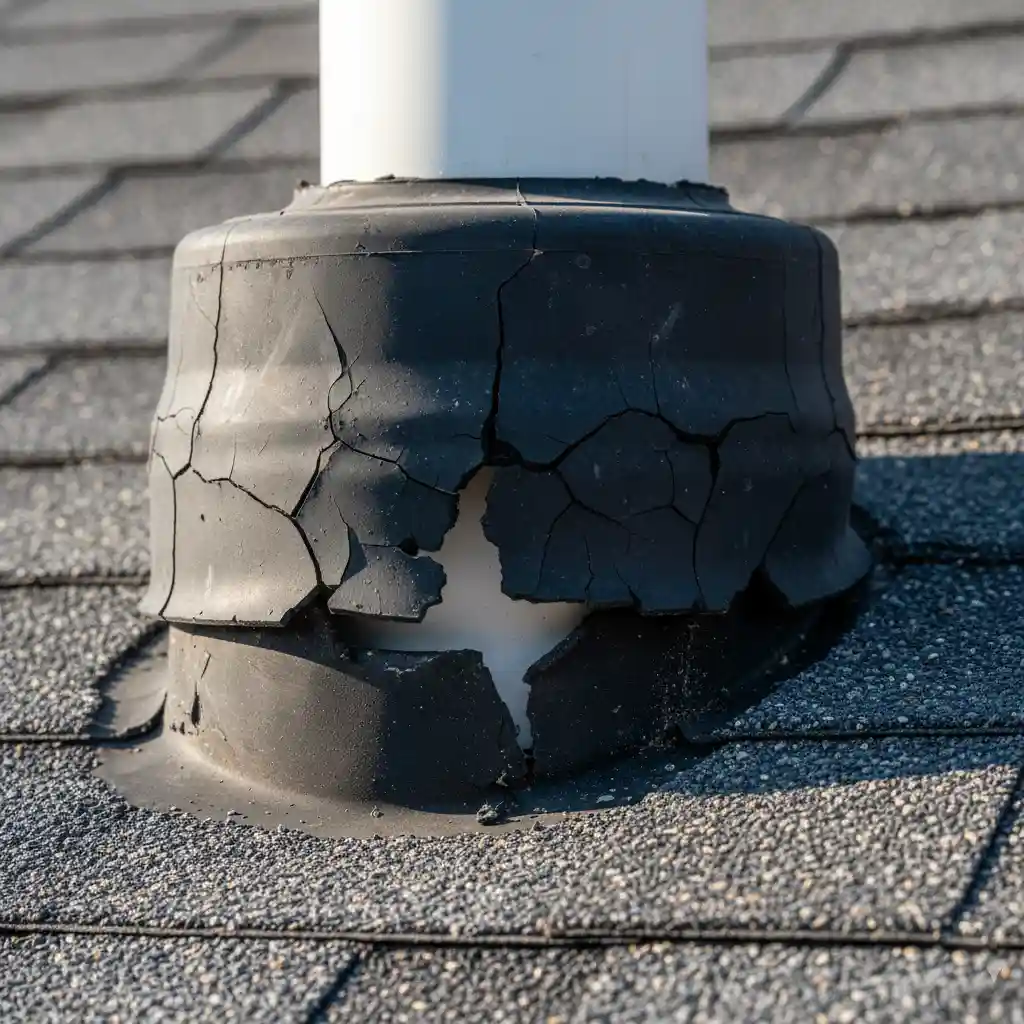
In 90% of cases, the leak is NOT coming from the flat open shingles. It is coming from penetrations—places where objects stick out of the roof.
If you can safely inspect your roof (or use binoculars), check these 5 zones first:
| Leak Zone | What to Look For |
| 1. Plumbing Vents | Check the rubber “boot” around the pipe. Rubber cracks and rots after 7-10 years. |
| 2. Chimneys | Inspect the metal flashing. Is it rusted? Is the caulk/sealant pulling away from the brick? |
| 3. Valleys | The “V” shape where two roof slopes meet. This channels water. Look for cracked metal or debris dams. |
| 4. Skylights | Check the edges of the glass. Leaks here are often due to improper flashing installation, not the glass itself. |
| 5. Gutters | Are they clogged? Clogged gutters can cause water to back up under the shingles (Ice Dams). |
Diagnosing the Leak by Symptom
Sometimes the type of leak tells you where it’s coming from. Use this diagnostic table to narrow down the search.
| Symptom | Likely Cause | Priority Level |
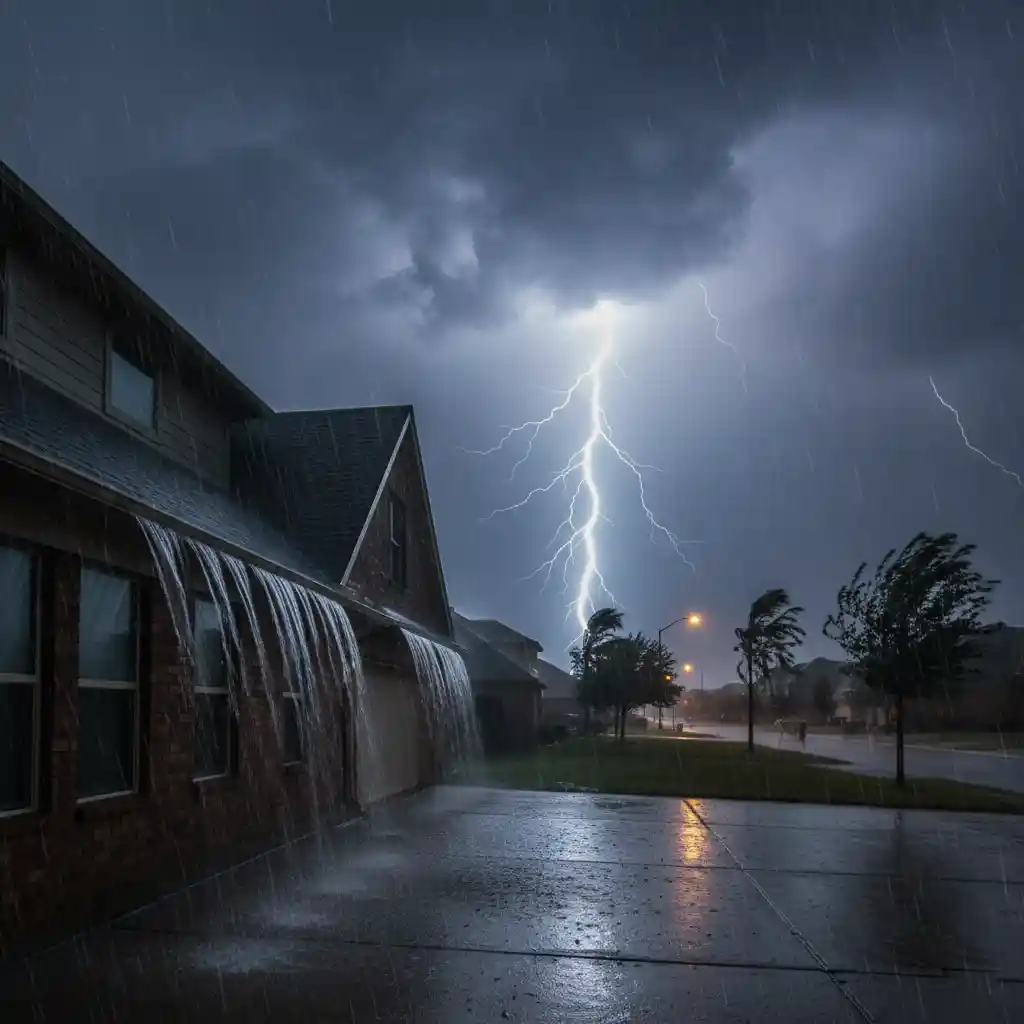
| Leak only during heavy rain/wind | Wall flashing or wind-driven rain under shingles. | High |
| Leak only in winter | Ice dams forming at the eaves (gutters). | High |
| Leak is constant (even when dry) | Plumbing pipe condensation or HVAC unit leak (not roof). | Medium |
| Brown rings on ceiling | Slow, long-term leak from a vent boot or small hole. | High |
| Mold in attic corners | Poor attic ventilation (condensation), not necessarily a leak. | Medium |
Method 3: The Water Hose Test (Two-Person Job)
If you still can’t find the leak, you can simulate rain. You need two people for this.
-
Person A stays inside the attic with a flashlight and a cell phone.
-
Person B goes on the roof with a garden hose.
-
Start Low: Start running water on the roof at the lowest point (near the eaves). Run it for a few minutes.
-
Wait: Person A watches for drips.
-
Move Up: If no leak appears, Person B moves the hose up the roof a few feet. Repeat until Person A shouts that they see water.
Note: Be patient. It can take 5-10 minutes for water to soak through the layers and appear inside.
What to Do Once You Find It?
Once you locate the source, you have two options:
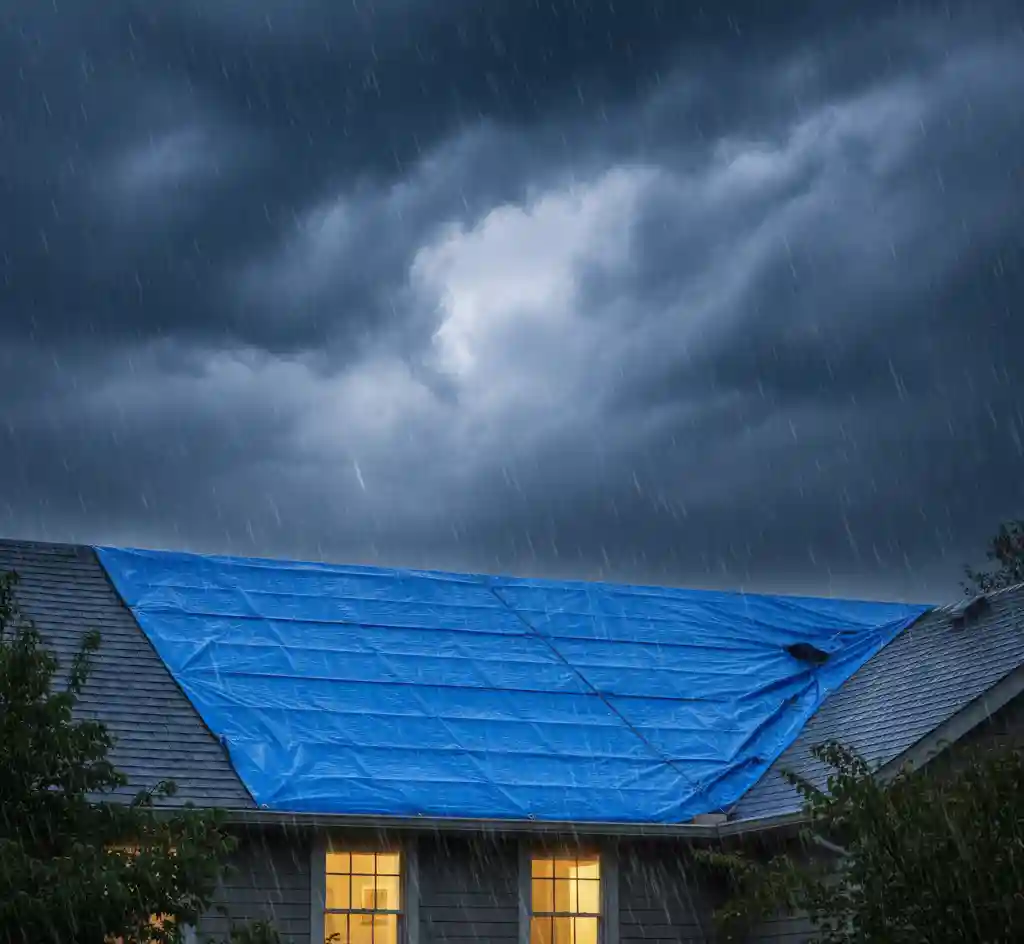
-
Temporary Fix: If rain is coming, use a tarp to cover the area. Secure it over the ridge (peak) of the roof to prevent water from running under it. You can also use roofing cement (in a tube) to seal small cracks in flashing as a temporary measure.
-
Permanent Repair: A temporary patch is not a solution. Damaged flashing needs to be replaced, not just caulked. Missing shingles need to be matched and nailed down properly.
Finding the leak is half the battle. Fixing it correctly ensures that moisture doesn’t continue to rot your home’s structure silently. If you cannot locate the source, it is often because the water is traveling a long distance or entering through complex siding details, which requires a professional eye to diagnose.