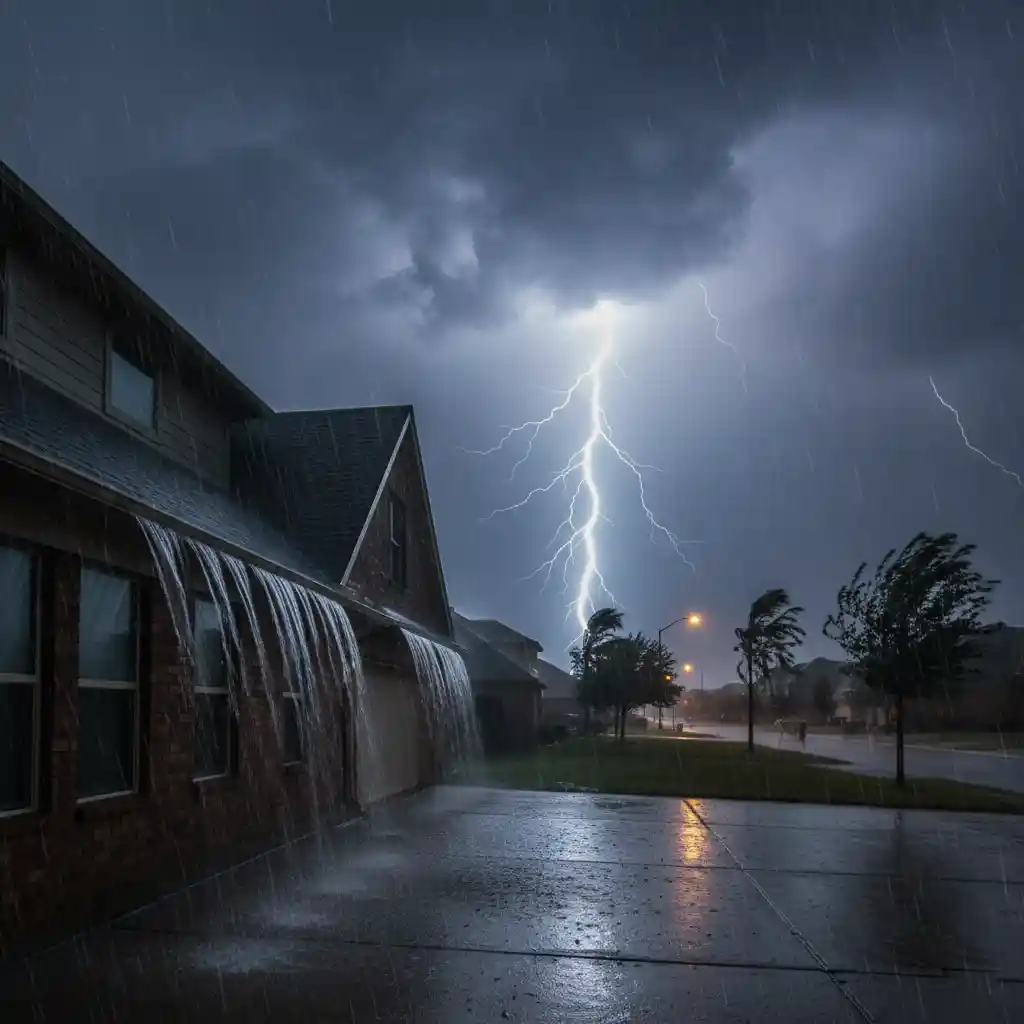
A tree branch through the roof. A sudden ceiling collapse during a heavy downpour. Shingles torn off by gale-force winds.
Roofing emergencies happen without warning, and they can be terrifying. When water starts pouring into your home, every minute counts. Panic is your enemy; quick, decisive action is your best defense.
This guide outlines exactly what to do in the first hour of a roofing emergency to protect your family and your property, and what you can expect to pay for 24/7 professional help.
Step 1: Safety First (Do’s and Don’ts)
Before you worry about the house, worry about the people inside.
-
DO evacuate the area if the ceiling looks like it might collapse (sagging drywall).
-
DO place buckets under leaks to catch water and prevent floor damage.
-
DON’T climb on the roof during a storm. Wet shingles are slippery, and lightning is a real threat.
-
DON’T try to patch a hole from the inside while it’s raining.
Step 2: Minimize Interior Damage
While you wait for the storm to pass or for a professional to arrive, your goal is “Containment.”
-
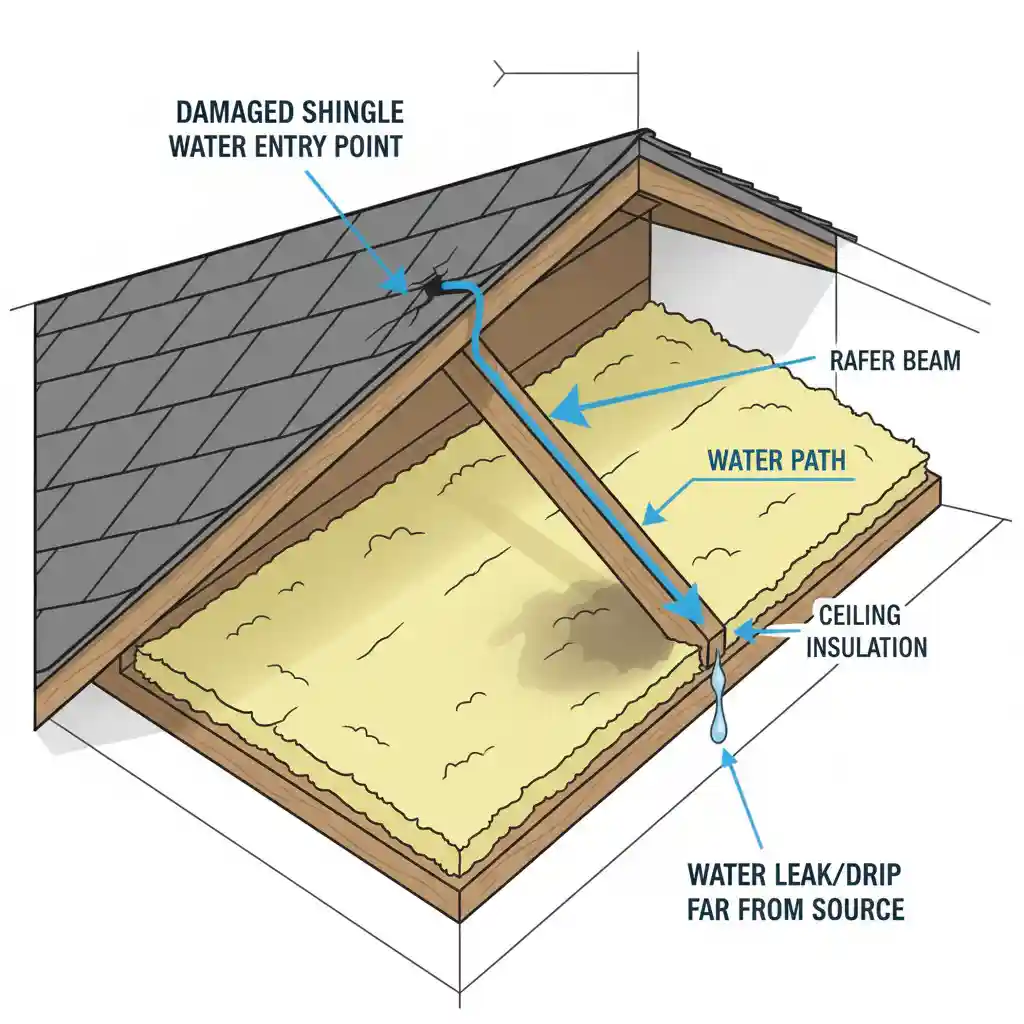
Pierce the Bubble: If water is pooling in your ceiling paint (forming a bubble), use a screwdriver to poke a small hole in the center. This drains the water into a bucket and prevents the heavy water weight from collapsing the entire ceiling panel.
-
Cover Valuables: Move furniture away from the leak area or cover it with plastic sheeting.
-
Soak it Up: Use towels to dry the floor to prevent warping or mold growth.
Emergency vs. Routine Repair: What’s the Difference?
Not every leak is an “emergency.” Understanding the difference can save you money, as after-hours calls often come with a premium price tag.
| Feature | Emergency Repair | Routine Repair |
| Timing | Immediate (24/7, Nights, Weekends) | Scheduled (Business Hours) |
| Goal | Temporary fix (Tarping) to stop water entry | Permanent solution & aesthetics |
| Cost | Premium rates (1.5x – 2x) | Standard labor rates |
| Typical Scenario | Tree impact, massive leak, missing section | Slow drip, moss removal, old shingles |
Estimated Costs for Emergency Services (2025)
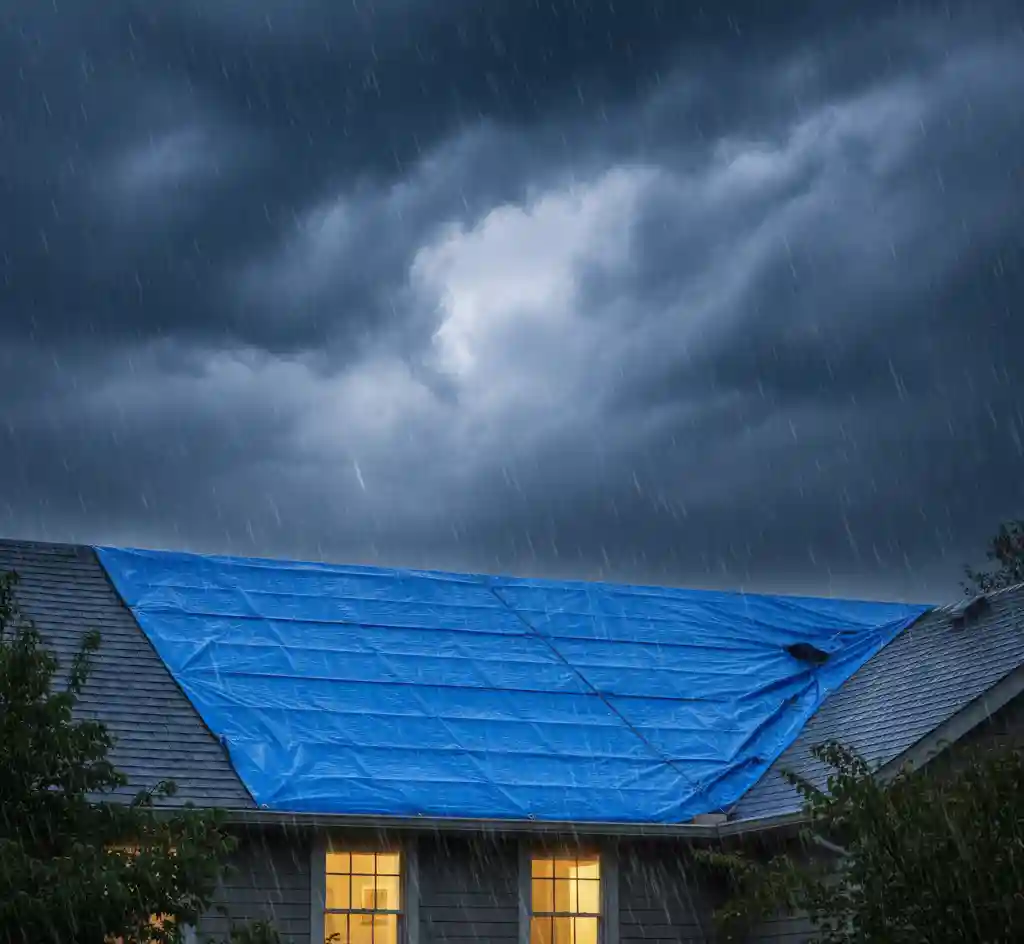
Emergency roofing services usually involve two stages: the “Tarping” (immediate temporary fix) and the “Permanent Repair” (later).
Below are the national average costs you can expect. Note that prices may surge during widespread natural disasters due to high demand.
| Service Type | Average Cost Range | Notes |
| Emergency Tarping | $300 – $1,200 | Depends on roof pitch and size of damage. |
| Emergency Call-Out Fee | $100 – $300 | Just for the roofer to arrive after hours. |
| Structural Repair | $1,000 – $3,000+ | Fixing rafters or decking crushed by trees. |
| Shingle Replacement | $500 – $1,500 | Replacing a small section blown off by wind. |
💰 Insurance Tip: Most homeowners’ insurance policies cover emergency mitigation (like tarping) to prevent further damage. Keep all receipts!
Should You DIY or Call a Pro?
In an emergency scenario, we strongly recommend calling a professional.
Emergency tarping often requires climbing onto a wet, damaged, and unstable roof. Professional contractors have the safety harnesses, experience, and materials to secure your home without risking injury.
Additionally, a professional will provide the documentation you need for your insurance claim.
What Happens Next?
Once the storm passes and the immediate threat is neutralized with a tarp, you need a permanent solution.
-
Assessment: A contractor inspects the full extent of the damage.
-
Quote: You receive a detailed estimate for the permanent repair or full replacement.
-
Insurance: You submit the estimate to your insurance adjuster.
Don’t wait until the next rainstorm. Water damage spreads silently and leads to mold within 48 hours.
🛠️ Need a Roofer Now?
We can help connect you with licensed, pre-screened roofing professionals in your area who handle emergency calls. Whether you need a tarp installation or a damage assessment, help is just a click away.